
Summary
GibbsCAM uses NCF as the default extension for posted G-code files. Some CNC controls require a different extension, such as NC, TAP, MIN, or EIA. A custom list in Import/Export Preferences makes those extensions available from the posting output dialog.
After the list is configured, select the required extension when posting for each machine. The first entry becomes the default choice. This preference controls the output filename extension; it does not change the post processor or the content of the posted program.
- Before You Begin
- Common File Extension Examples
- Procedure
- How the Custom Menu Works
- Video Tutorial
- Best Practices
- Troubleshooting
- Related Articles
Before You Begin
Confirm the required file extension for every CNC control with the machine documentation, control configuration, or responsible shop personnel.
Verify that the correct GibbsCAM post processor is selected for the target machine. Changing a filename extension does not convert code for another control.
Decide which extension should appear first. The first value in the list becomes the default in the output-file dialog.
Use only the extensions your shop needs so the posting menu remains easy to review.
Important: Enter extensions without a leading period and separate multiple entries with a comma followed by a space, for example: NC, TAP, MIN, EIA.
Common File Extension Examples
The CAMCO video uses the following examples. Requirements can vary by control configuration, so verify each value before using it in production.
Procedure
Step 1 - Prepare the Extension List
List the file extensions required by the CNC controls in the shop.
Place the most frequently used extension first because it will be the default selection.
Format the list with no leading periods and with a comma plus a space between values, such as NC, TAP, MIN, EIA.
Step 2 - Add the Extensions to GibbsCAM Preferences
Select File > Preferences.
Select the Import/Export page.
Under File Extensions, locate the Post field.
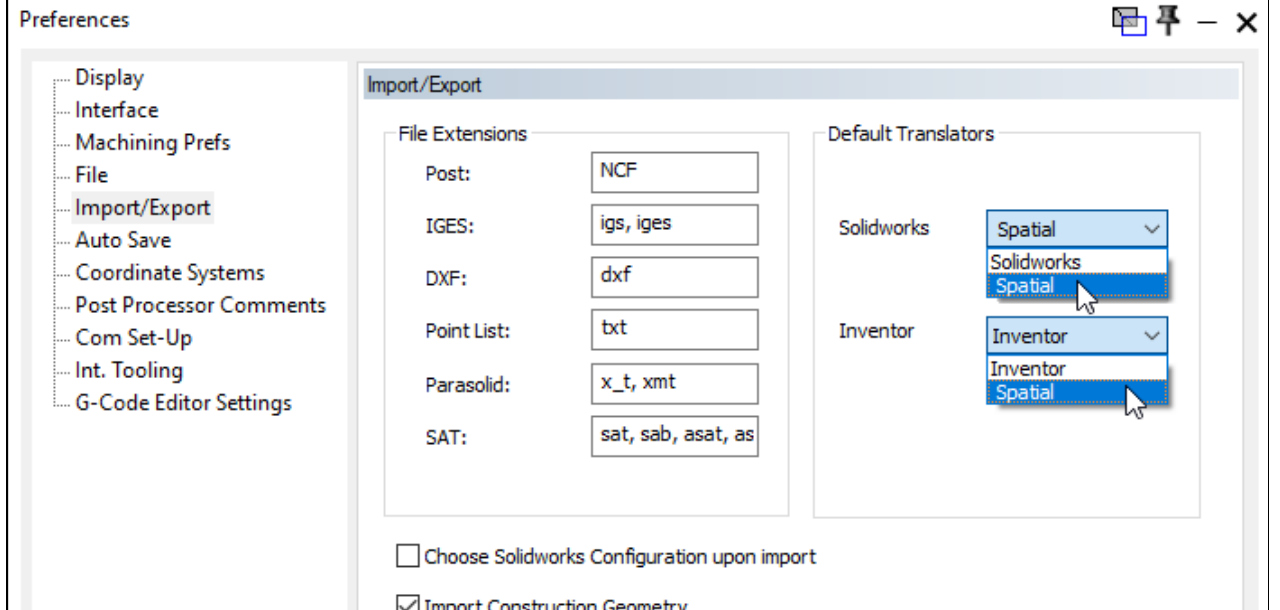
Figure 1 - The Post field is located under File Extensions on the Import/Export Preferences page.
Replace the current value with the prepared list, for example NC, TAP, MIN, EIA.
Close the Preferences dialog to accept the change.
Expected Result
The Post preference contains the custom extension list, and the first extension is ready to be used as the default output type.
Step 3 - Select an Extension When Posting
Open the Posting page and select the correct post processor for the target CNC.
Click Program Name or the output-file control to open the output-file dialog.
Open the file-type or extension drop-down list.
Select the extension required by the target control.
Confirm the program name and save or post the file.
Expected Result
The posted program is saved with the selected extension, such as .EIA for a Mazak control or .MIN for an Okuma control.
Step 4 - Verify the Posted File
Locate the posted file in the selected output folder.
Confirm that the filename ends with the intended extension. If Windows hides known extensions, inspect the file properties or enable filename extensions in File Explorer.
Confirm that the file was created with the correct post processor for the target machine.
Follow the shop's normal program verification and transfer procedure before running the file on the CNC.
Expected Result
The posting output dialog provides a reusable menu of the shop's required file extensions. The programmer can choose the correct output type for each CNC without reopening Preferences and replacing the Post extension one value at a time.
How the Custom Menu Works
The Post field accepts more than one extension when the values are separated by a comma and a space.
The first extension in the list is the default selection in the output-file dialog.
Selecting another entry changes the extension used for that posted output file.
The extension setting changes the filename suffix only; machine compatibility still depends on the selected post processor and the generated code.
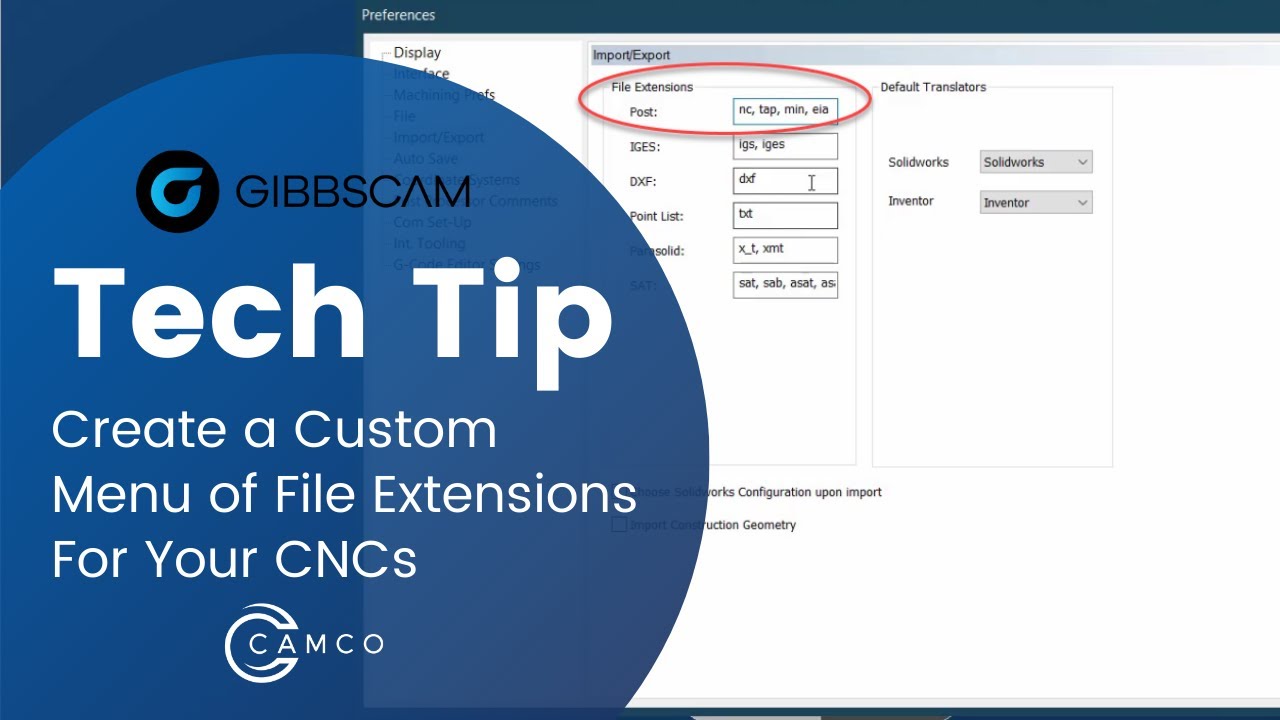
Video Tutorial
Best Practices
Keep the shop's most common extension first so it is selected by default.
Use a standardized extension list across programming workstations when the same machines are supported.
Match the file extension and post processor to the same target control every time.
Do not add periods in the Post preference; GibbsCAM adds the period to the output filename.
Review the displayed filename before saving or transferring the posted program.
Test a newly configured extension with the shop's normal prove-out process before production use.
Troubleshooting
Problem: The output dialog shows only one extension.
Possible Causes
Only one value is entered in the Post field.
The entries are not separated by a comma followed by a space.
The list was entered in another File Extensions field instead of Post.
Resolution
Open File > Preferences > Import/Export and correct the Post field. Enter each extension without a period and separate the values exactly as shown in this example: NC, TAP, MIN, EIA. Close Preferences, then reopen the output-file dialog.
Problem: The wrong extension is selected by default.
Possible Causes
The desired default is not the first entry in the Post list.
The output-file dialog was already open when the preference was changed.
Resolution
Move the preferred default extension to the beginning of the Post list, close Preferences, and reopen the output-file dialog. Select another extension manually whenever a different control is the target.
Problem: The CNC does not recognize or accept the posted file.
Possible Causes
The selected extension does not match the control's required file type.
The correct extension was used with the wrong post processor.
The filename contains an unintended second extension, such as .EIA.TXT.
Resolution
Verify the complete filename, required extension, and selected post processor. If Windows hides extensions, enable filename extensions or inspect the file properties. If the posted code itself requires changes, contact CAMCO Technical & Post Support; changing the extension alone will not change the program format.
Related Articles
Explore More from CAMCO
Visit the CAMCO website to learn more about:
Keywords
File Extensions, Post Output, NCF, NC, TAP, MIN, EIA, Posting, CNC Controls, Import/Export Preferences