
Summary
This article explains how to install, register, and configure a GibbsCAM Network License (NLO) Server using the Reprise License Manager (RLM).
A Network License server allows multiple GibbsCAM workstations to share a pool of floating licenses over a network. This guide walks through the complete server installation process, from installing the RLM server software to activating the license and preparing client workstations.
Table of Contents
Before You Begin
Before installing the Network License server, verify the following:
You have Windows Administrator privileges.
The server computer has a reliable network connection.
The server has a static hostname or static IP address (recommended).
The Windows Firewall service is running during installation.
You have received your GibbsCAM Network License Product Code.
Important: Before installing or modifying the NLO Server, ensure the Windows Firewall service is running. After installation is complete, the service may be disabled again if required by your organization's IT policies.
Installation Overview
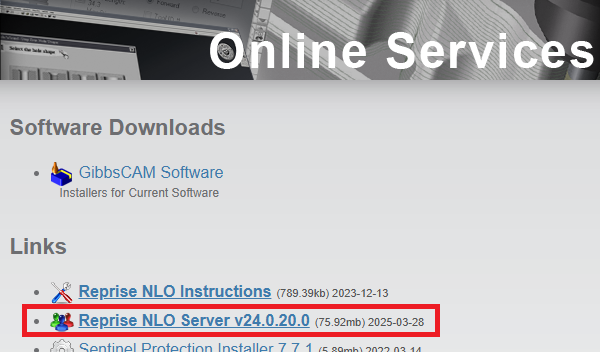
Step 1 – Download the NLO Server Installer
The Network License Server installer is available from https://online.gibbscam.com/.
Download:
Reprise NLO Server vX.x.
Step 2 – Install the Network License Server
Log into the server with Administrator privileges.
Run the Reprise NLO Server installer.
Approve the Windows User Account Control (UAC) prompt.
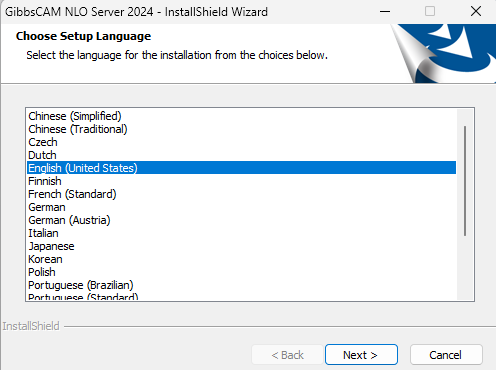
Select your preferred installation language.
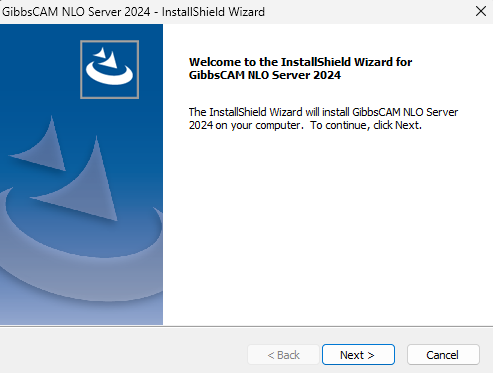
Click Next on the Welcome screen.
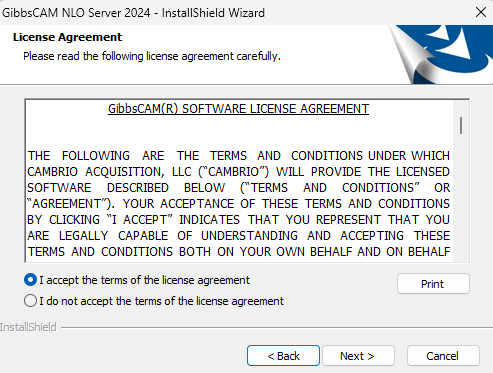
Accept the License Agreement.
Choose the installation folder or accept the default location.
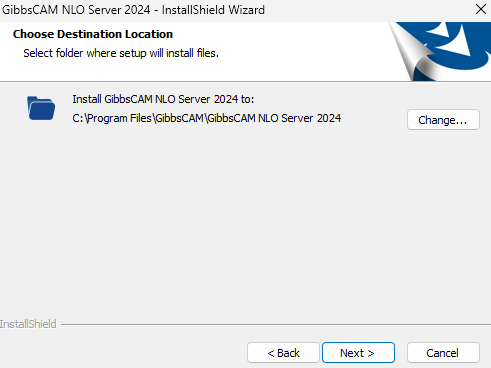
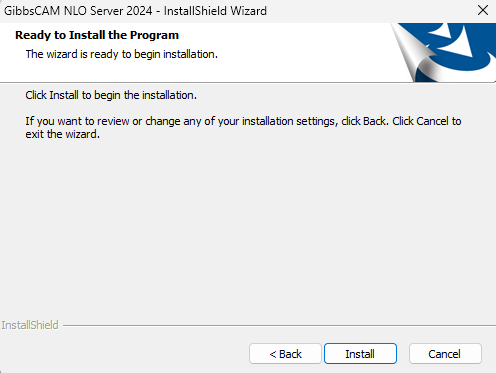
Click Install.
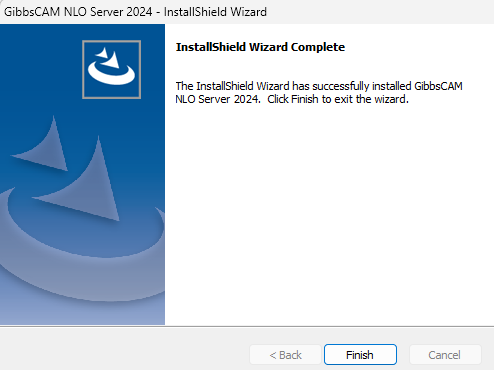
Allow the installation to complete and click Finish.
Step 3 – Register the Network License
Browse to the GibbsCAM NLO Server installation folder (by default, C:\Program Files\GibbsCAM\GibbsCAM NLO Server 2024\) and run RegistrationTool.exe.
In the Licensing Utility:
Select Network License Server.
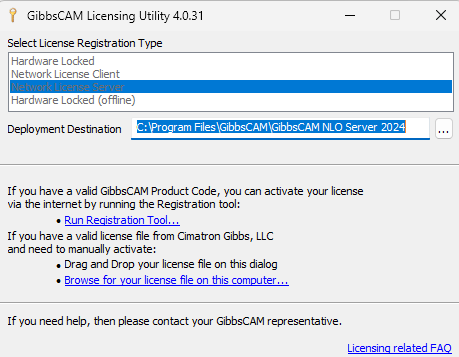
Specify a writable Deployment Destination.
Do one of the following:
Browse to an existing .lic license file, or
Click Run Registration Tool to obtain a new license file.
If registering online:
Enter your 20-character Product Code.
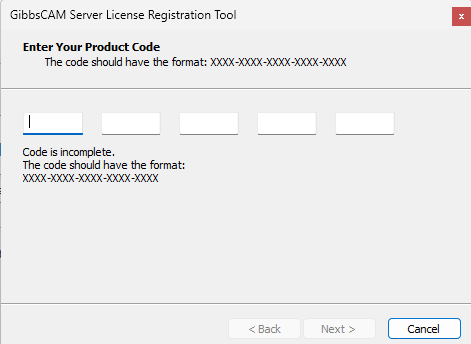
Complete the registration process.
When activation is complete, a license file named similar to the following is created:
license-<customer_id>-<server_number>.lic
The file is saved in the Deployment Destination folder you selected.
Note: Current GibbsCAM releases require an RLM .lic file. Older CimLM .cml license files are not compatible.
Note: If a "license.glc" file is created, this is a data file used for offline registration when it is unable to connect to the GibbsCAM activation servers.
Email this file to support@camco-ne.com for processing
orVerify your internet connection. See: Unable to Connect to the GibbsCAM Activation Server
Step 4 – Configure the Windows Server
Open Windows Services.
Locate:
GibbsRLMServer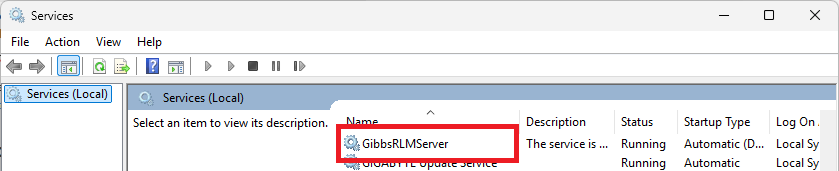
Verify that the service is running.
Change the Startup Type from Manual to Automatic.
This ensures that the license server starts automatically whenever Windows restarts.
Step 5 – Configure the RLM Administration Interface
After installation:
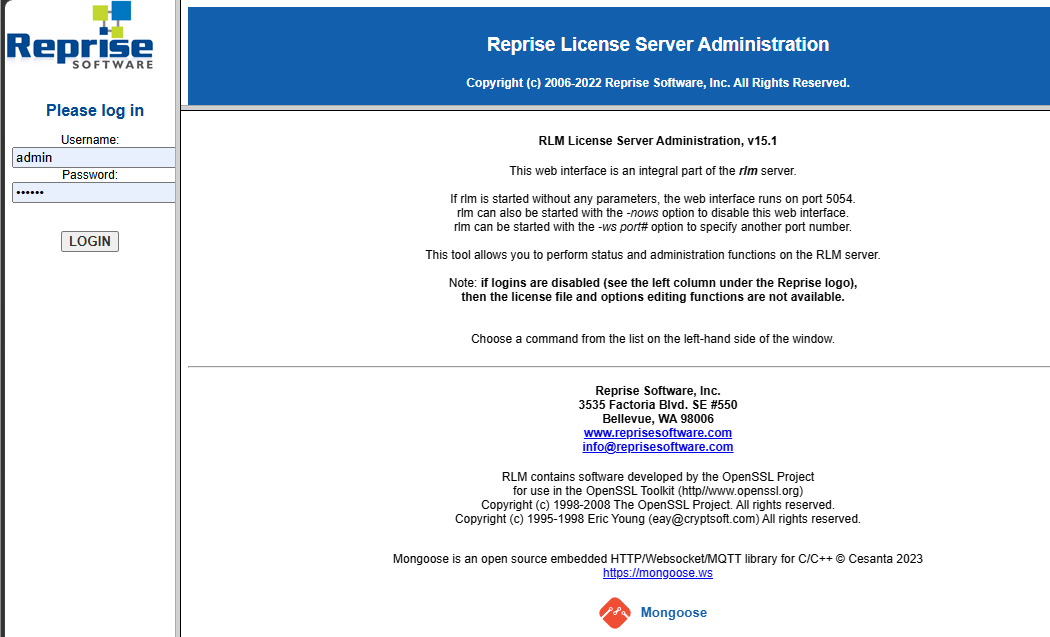
Open a web browser on the server and browse to:
http://localhost:5054
Sign in using the default credentials:
Important: The default administrator password must be changed within 10 minutes of installation. If the password is not changed, the GibbsRLMServer service will terminate automatically.
Step 6 – Install Client Workstations
Once the server is operational:
Install GibbsCAM on each client workstation.
Use the same Product Code that was used to activate the Network License Server.
Register the client using the Registration Tool or by launching GibbsCAM.
Click Activate Product.
Unlike standalone licensing, client workstations are not prompted for customer contact information during activation. Activation data is automatically retrieved from the GibbsCAM Activation Service.
Step 7 – Verify the Installation
After configuring the server:
Verify that the GibbsRLMServer service is running.
Launch GibbsCAM from a client workstation.
Confirm that the client successfully checks out a license.
Verify that licensed modules are available.
Repeat this verification on multiple client computers if applicable.
Troubleshooting
Problem: Clients Cannot Connect to the Server
Possible Causes
Firewall blocking communication
Incorrect hostname
Incorrect IP address
RLM service not running
Resolution
Verify that TCP ports 2764 and 2765 are open between the client and server. Confirm that the RLM service is running.
Problem: Incorrect Server Name
If the client license references an incorrect server name or IP address:
Open the client's .lic file in Notepad.
Locate the HOST and LSHOST entries.
Update them to match the current server hostname or IP address.
Save the file and restart GibbsCAM.
Problem: RegistrationTool.exe Reports vcruntime140_1.dll Missing
Install the latest Microsoft Visual C++ Redistributable (x64) and ensure Windows is fully updated before rerunning the Registration Tool.
Problem: Service Stops Shortly After Installation
The default administrator password was not changed within the required time.
Restart the service and immediately sign in to the RLM web interface to assign a new administrator password.
Expected Result
The GibbsCAM Network License Server is successfully installed, the RLM service is running automatically, and client workstations can obtain licenses from the server.
Related Videos
Best Practices
Install the NLO Server on a dedicated computer that remains powered on.
Assign a static hostname or static IP address.
Change the default administrator password immediately after installation.
Configure the GibbsRLMServer service to start automatically.
Back up the .lic license file after activation.
Document the server hostname, Product Code, installation folder, and administrator credentials.
Test license checkout from at least one client workstation before deploying to all users.
Related Articles
- Installing Hardware Key Drivers
- Moving a Network License (NLO) Server
- Unable to Connect to the GibbsCAM Activation Server
- How to Use Roaming Licenses
- How to Configure User Groups in RLM
- How to Track NLO Usage
- How to Reset the RLM Web Administration Password
- RLM Web Administration Shows "Logins Disabled"
Keywords
Network License, NLO, Reprise License Manager, RLM, License Server, Floating License, Network Licensing, Registration Tool, GibbsRLMServer, License File, Product Code, License Activation, TCP 2764, TCP 2765